
This project is so easy. You could almost do it your self if it didn't take two people to hold the wood sides together and hang it. Project total time 1:30 min.

- Flat corner braces
- Corner braces
- Three measured and cut wood pieces to desired lengths
- Screw driver
- Staples & staple gun
- Desired fabric
Start by picking up these braces at Home Depot

Don't have a saw? Home depot cuts complimentary with a purchase of any wood item and your provided measurements. My choice of plank is 10" high, I could have almost done a 12" but, it all depends on your fabric print scale size and window length. You want it to "look right" and proportionate with the window.

This is how easy it is to put the braces together. Assemble your boards with a help from a friend holding the two sides together and secure your screws with a screw driver, nice and tight!

Both of your sides will look like this

Lay your batting down on a table and place you assembled cornice on top of it. Make a cut with your scissors 2"along all sides.

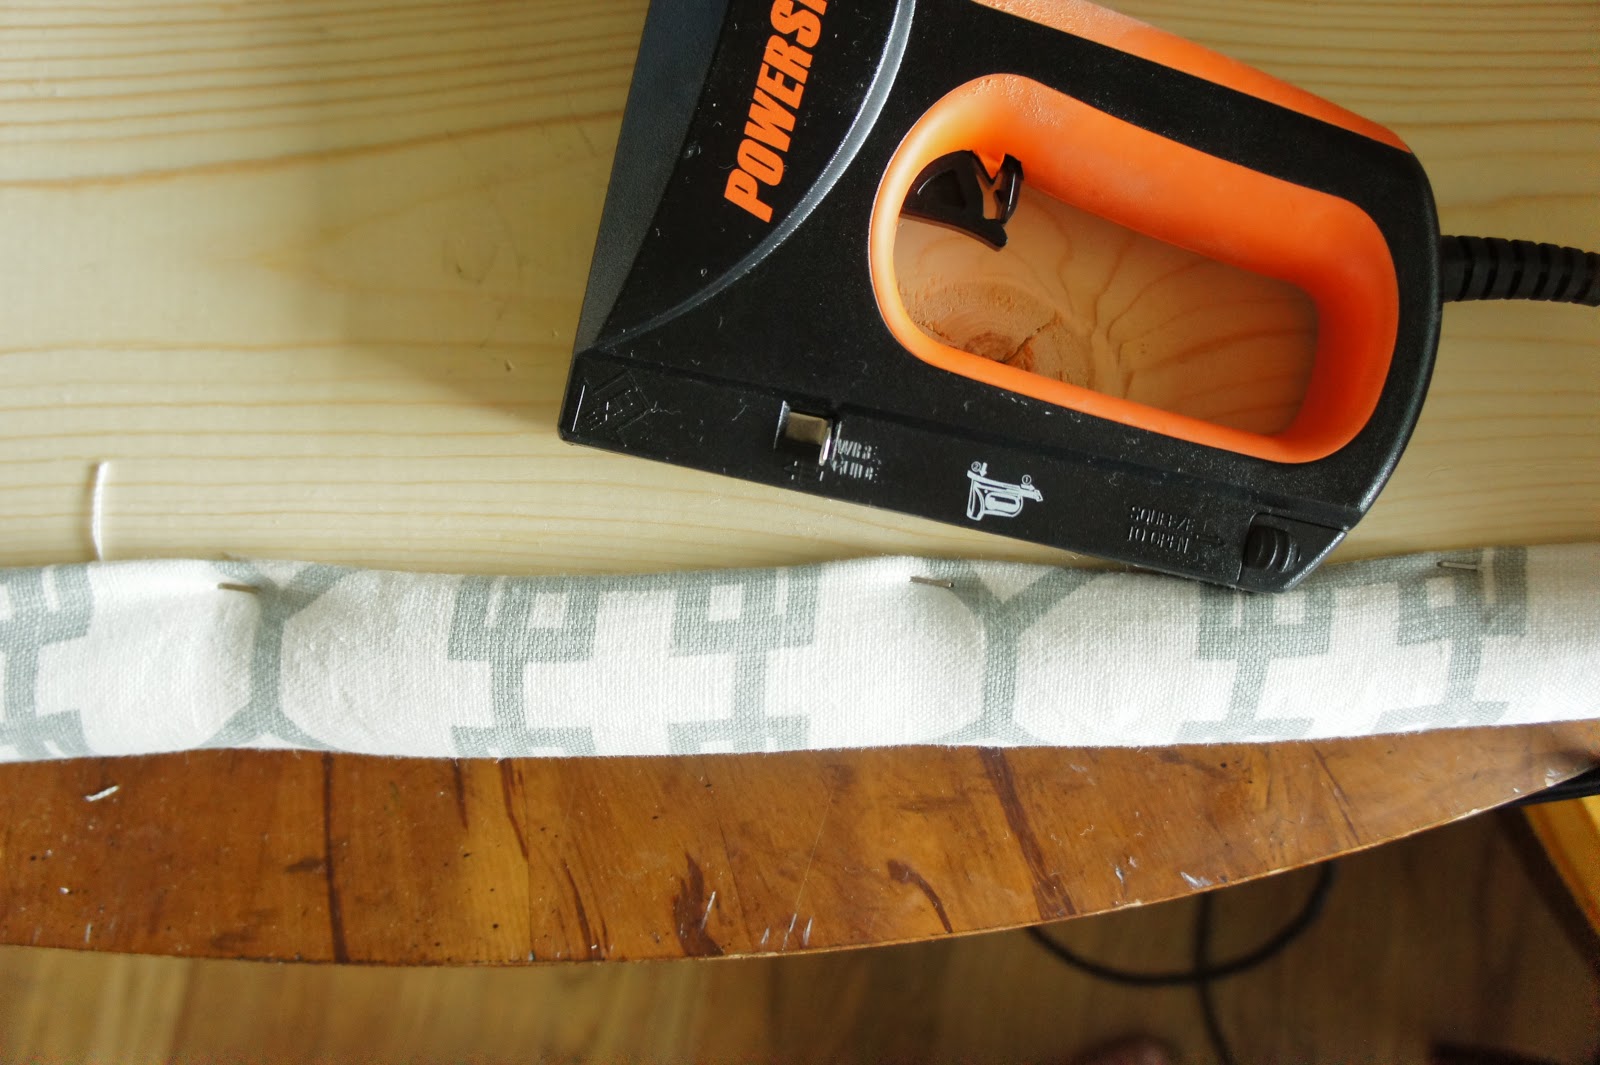
Apply staples with your staple gun but, not too many, I only put three on the long sides. Really, your just want enough to secure the batting in place.

Do the same with your fabric. Lay your fabric face down on the table top and put your assembled cornice on the fabric. Again, cut along the fabric 2.5" away from all the edges. You can see in the lower part I can pull the fabric pretty far around the edges of the wood.

Now, I like to keep all my work clean even though this is an easy DIY. I folded the edge of the fabric and batting under to create a clean edge. No, no one will really see the underside of this but say, if I ever re-home the cornice it I just want it to look as put together as possible

I pulled the fabric taught and stapled all the edges roughly every 3-5 inches apart
This is what it will look like at the end

Here's my final product. If you notice I did a little tailoring with the edges. Your fabric, doesn't need to do this because I was using what I had and didn't have the full 54" width. My fabric was from a previous project that was cut, from my old house so I Jimmy rigged it to look nice! Your fabric, should be able to wrap around clean, then be upholstered.


Using these corner braces I applied it to the cornice before hanging it on the wall and at an angle screwed in the screws.


It's hanging and dresses the plain window well!

This was such an easy project, do you think the wall cornice makes a big impact on the room?
Is this a project you think your could take on solo?
No comments:
Post a Comment